Over 15 Years of Expertise
 FREE samples provided to ensure product satisfaction
 Rapid Turnaround: Mass Production Complete in 15 - 20 Days
Energy and money can both be saved by using LED lights. However, finding a connector that fits can be difficult if one of the light sockets is damaged. This blog post will show you how you can connect led lights without using a connector. You can easily fix this problem with just a few household items and get your light fixtures back up and running. For details on how to do this yourself, keep reading!
How Can LED Lights Be Connected Without A Connector?
- Tools And Materials Needed:
- A pair of wire cutters
- A Phillips head screwdriver
- Electrical tape
- A pencil or pen
- A small piece of paper
- Wire strippers (optional)
- You must first acquire your supplies and tools.
- Use your wire cutters to remove the damaged light socket from the fixture.
- Next, you will need to use your screwdriver to remove the wires from the back of the socket. If the wires are stuck, you can use your wire strippers to loosen them.
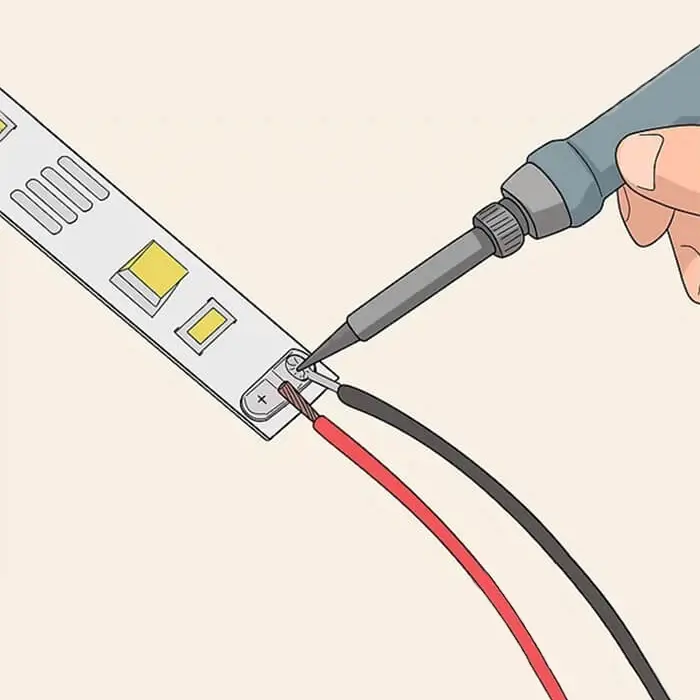
- Once the wires are removed, twist them together and tape them securely with electrical tape.
- Take your little paper piece and bend it into the shape of a funnel.
- Slip the paper funnel into the gap where the socket was attached and tape it in place.
- Finally, screw in the new light bulb by twisting it into the socket.
Your new light bulb should now be securely in place, and you can turn on your light fixture. Congratulations, you have successfully connected led lights without a connector!
How can two LED strip connections be made without connectors?
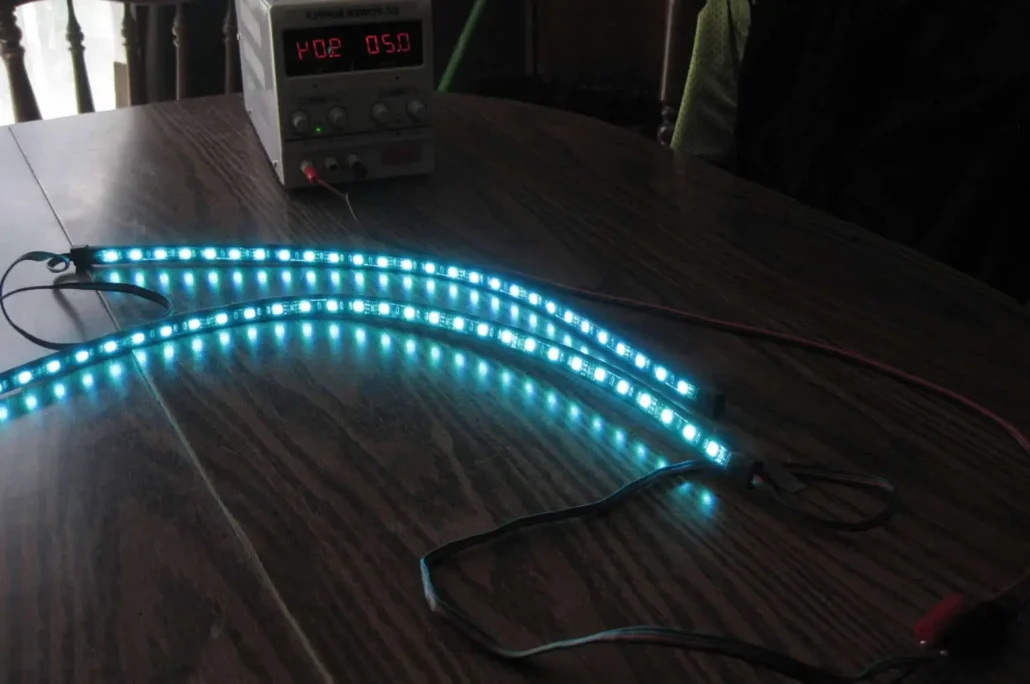
If you need to connect two LED strips without connectors, you can do so by soldering the strips together. First, cut the strips to the desired length and remove any excess wire. Apply a tiny amount of soldering to the wires to tin them next. Then, align each strip’s positive (red) wires and solder them together. Finally, do the same with the negative (black) wires. Your LED strips should now be securely connected!

What do the LED light’s three cables represent?
The three wires on LED lights are the positive (red), negative (black), and ground (green) wires. The positive and negative wires are responsible for providing power to the light, while the ground wire helps to complete the circuit and provides a safe path for current to flow.
How do you tell which side of an LED is positive?
In general, the shorter of the two leads on an LED is the positive side, while the longer lead is the negative side. However, it is always best to consult your manufacturer’s instructions to be sure. You can also test the LED with a multimeter to determine the positive side.
Where do you connect the positive on an LED?
The positive lead on an LED must be connected to a positive voltage source in order for the light to turn on. This can be either a DC power supply or an AC power source that has been rectified (converted into DC). The ground or a negative voltage source can be connected to the negative lead.
What happens when an LED is wired in the wrong direction?
An LED won’t light up if its wiring is reversed. This is due to the fact that an LED can only have one direction of current flow. When wired backward, the current tries to flow through the LED from the negative to the positive side, but this does not allow for sufficient current to flow, and the LED will not turn on.
How do you connect two LEDs in parallel?
To connect two LEDs in parallel, you will need to connect their positive (red) wires and their negative (black) ones. You can then use a power source to provide power to the LEDs. The current will flow through both LEDs simultaneously, lighting them up.
Do all LEDs have resistors?
No, not all LEDs have resistors. However, many LEDs do come with built-in resistors that help to protect them from damage. If your LED does not have a resistor, you may need to add one in order to use it safely.
How are several LED lights connected to one another?
There are several ways to connect multiple LED lights together, such as using led light strips, soldering the lights together, or using connectors. The best method will depend on the number of lights you need to connect and the type of lights you are using. Whatever approach you decide to choose, make sure to always operate with electricity safely!
When should you use waterproof connectors for LED lights?
When connecting LED lights that will be in contact with moisture or water, waterproof connectors must be utilized. This will provide a long life expectancy for your lights and help prevent corrosion.
What are the benefits of connecting led lights without connectors?
There are several benefits to connecting led lights without connectors. It eliminates the need for extra materials and reduces the overall cost of your project. Moreover, it can be faster and easier to connect the lights without using connectors.
What are the disadvantages of connecting led lights without connectors?
The biggest drawback of connecting led lights without connectors would be that connectivity issues may be more challenging to troubleshoot. Additionally, it is important to be extra careful when working with electricity, as mistakes can be dangerous. If you’re unclear about how to connect your lights safely, always seek professional advice.
Bottom-Line
If you are looking for a way to connect LED lights without a connector, there are several methods that you can try. By using some of the methods we’ve outlined, you can save time and money while still getting the lighting effect you desire. Which one will work best for your needs will depend on the type of LED lights that you have and the materials that you have available. By using these techniques, you should be able to create a connection between your LED lights and whatever power source you choose.