Over 15 Years of Expertise
 FREE samples provided to ensure product satisfaction
 Rapid Turnaround: Mass Production Complete in 15 - 20 Days
Coaxial cable or coax brings internet and TV signals into the buildings. You will have to attach a connector on the cable’s end to transmit the signals from these cables to whatever appliance needs signals, such as a television. In other words, the coax cable connectors are explicitly designed to connect the coaxial cable to other devices for signal transmission. Not only that, but they also maintain the shielding on the cable.
High-quality coax cable connectors offer long-lasting connections that are also reliable. There are two main types of connectors, and you must choose which fits your requirements the best. If you have a coax cable with the connector, you will have to install a connector. Installing a coax cable connector is simple, and you can easily do it independently with little guidance.
Here is a comprehensive guide on installing a coax connector with step-by-step instructions for a better understanding. So, let’s not make you wait anymore and get to the instructions.
Step-by-Step Instructions for Installing a Coax Connector
Installing a coax connector is quite an easy task. The main installation process consists of stripping the wire to expose the cable’s inner conductor and attaching the connector, effectively putting it into place. We will discuss all these steps in detail, so you can be clear while installing a coax connector and so that you can do it without any professional help.
Choose the Right Cable
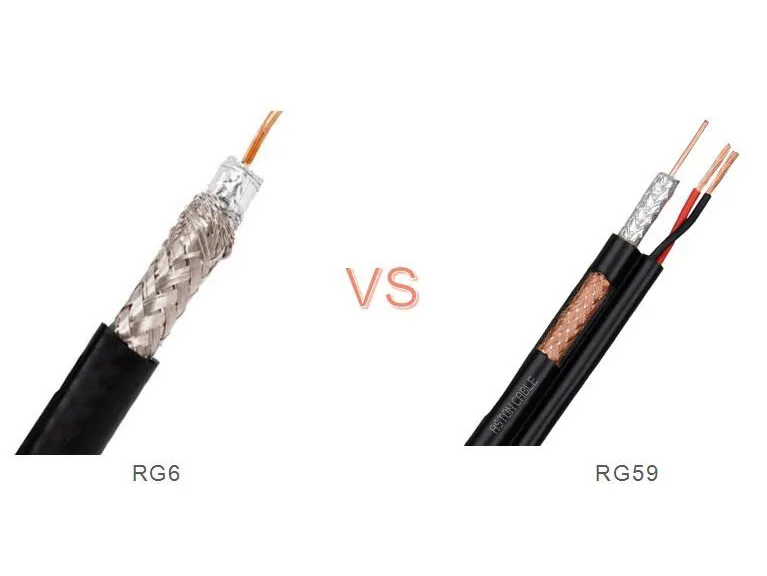
Choosing the right cable is essential. You will have to check whether the cable is an RG59 or RG6. Both of these cables are the most commonly used types of wires, and chances are that you have one of them. To find out the type of cable that you have, you will have to look into the rubber housing of the cable.
One of the main differences between the RG56 and RG6 cables is that the RG6 cable is much thicker because it has more padding than the other cable. This makes RG6 cable more long-lasting and a preferred choice for use in internet wiring.
Select the Right Connector
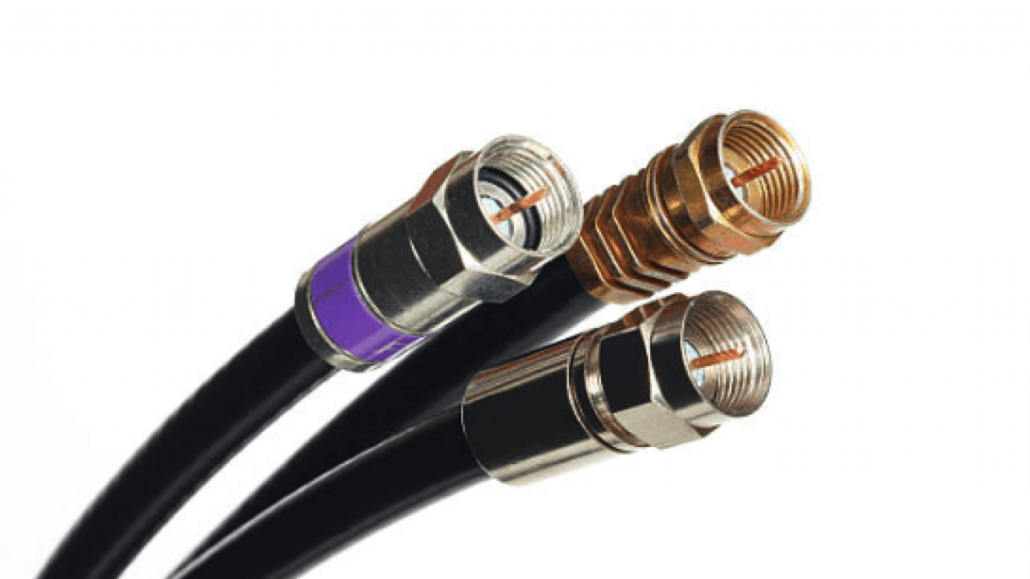
It is important to choose the right connector for the cable that you have chosen. The F-type connector is the most common type of coax cable connector. Look for an F-type connector that matches the width of your cable in the hardware shop near your home or the town. If you are using multiple cables, get multiple connectors that match the widths of all the cables.
Various F-type connectors have multiple styles, such as crimp or twist-on. If you need clarification about which one might be the best for you, you can always ask the store owner or employee to give you the best suggestion according to your requirement.
Strip the Cable
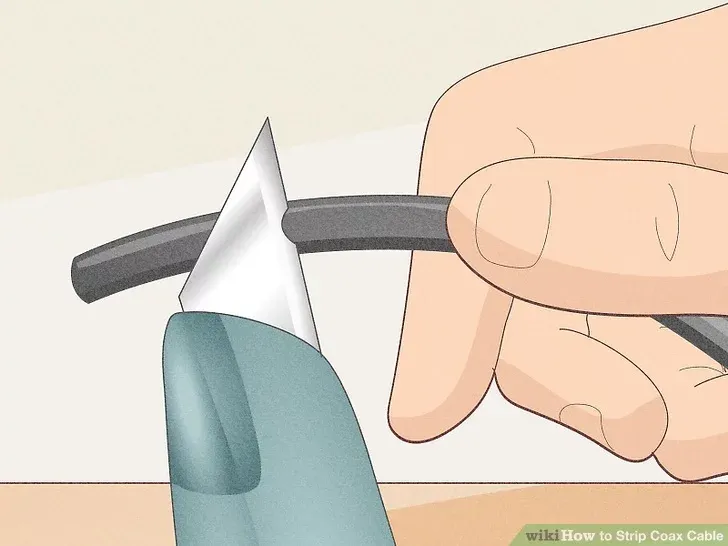
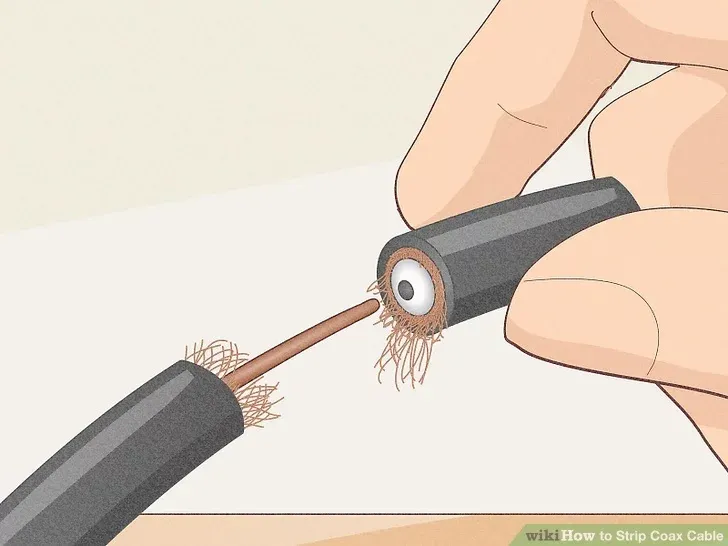
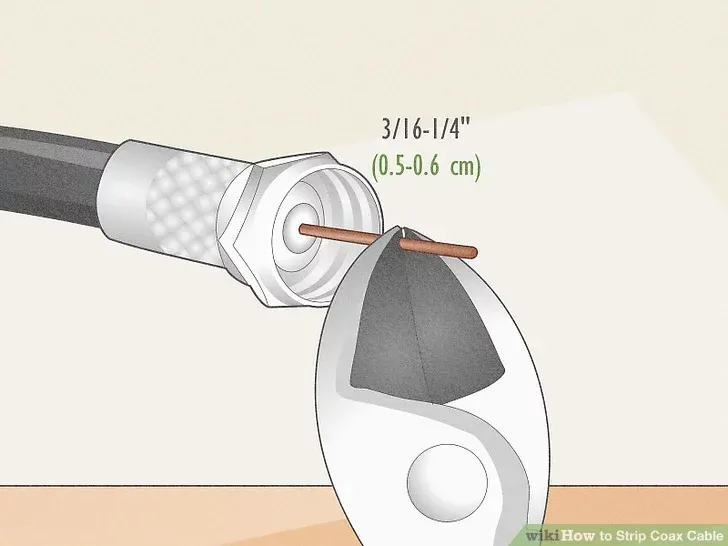
The next step is stripping the cable. You can use a razor or a wire tool to cut half an inch from the cable’s end and strip off the outer rubber layer. The underneath mesh should be visible. Make sure only to cut the rubber covering because if you miss too deep, it will affect the connection of the cable. Now, peel the wire mesh down and cut through this section using a wire stripping tool.
You must cut through one final insulation layer to expose the copper conductor. You will have to cut ¼ inch from the top and remove it. Remove it carefully to avoid damaging the conductor.
Now, we will discuss the installation of two different types of connectors.
Installing the Crimp Connector
If you have chosen a crimp connector to attach to your coax cable, here is what you will have to do to secure a crimp connector to the cable.
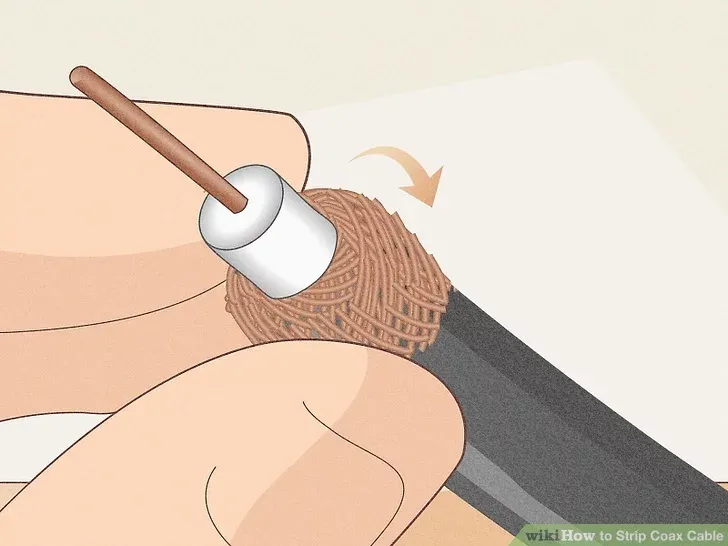
- Slide the Ring Over – After you have the copper conductor area exposed, the next thing you will have to do is attach the connector. If you have a crimp connector, you will have to slide the ring of the crimp connector. Make sure to leave it below the area that you have cut. In some cases of crimp connectors, there are no separate rings as they are already attached.
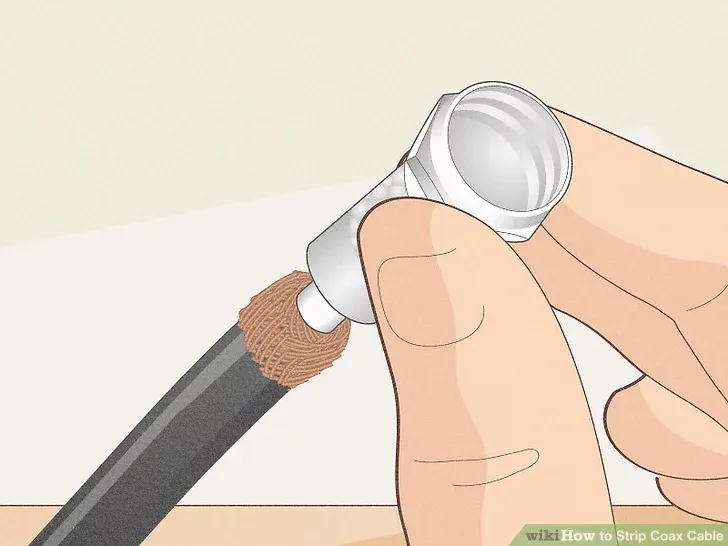
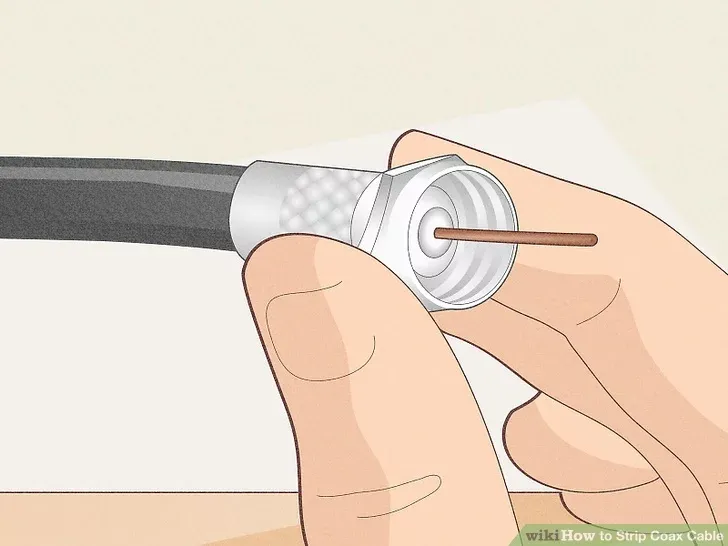
- Take Out the Copper Conductor – Hold the connector in one hand and the cable in the other. Connect the conductor by inserting it into the hold in the center of the connector. Don’t stop pushing till the conductor starts sticking out just above the edge of the connector.
- Crimp – Use a crimping tool to crimp the wire and the connector. It enables the crimp ring to fix firmly inside the connector. Insert the right-sized cable into the crimping device. Keep on squeezing the handle till you hear a clicking sound. There might be a chance that your crimping tool works differently; if so, read the manufacturer’s manual.
- Trim the Wire Mesh – The last step in installing a crimp connector is trimming the excessive wire mesh that might be coming from the connector. You must remove them because they can disturb the signals or connection. You can use a wire cutter to trim the excess wire mesh pieces under the connector.
Installing the Right-Angle Connector
If you need to install a right-angle connector, here are step-by-step instructions on how to do it efficiently.
- Connect the Wire Base and the Wire – Right angle connectors consist of a wire base that holds the system’s housing together. Before installing the connector, slide the wire base over the wire that you have already stripped. Before getting to any other installation steps, you must first slide on the wire base.
- Loosen the Screw – Next, you will have to loosen the screw located inside the connector housing, which is responsible for transmitting the signals. Use counterclockwise movements to loosen the screw. Make sure the screw doesn’t come into your hand, but it should be loose enough.
- Tighten the Screw – Insert the cable inside the connector housing until the conductor touches the screw. Hold it in the same place while tightening the screw by moving it clockwise. The line must stay in place and make a snug connection. You must not over-tighten the screw.
- Attach the Connector’s Back Housing – Take the back piece of the connector in your hand and line it up with the front one. Put a little pressure on both parts to connect them firmly while the cable remains in the middle of both pieces.
- Twist the Base – The base is responsible for locking sections and pieces. So, keep pushing it upwards until it is attached to the connector. Now twist it over both sections. If the connection is snug, you have done the job correctly.
Final Words
Coaxial connectors are a vital part of the whole signal transmission system of our internet and other appliances like television. Therefore, it is important to do the right job while installing a connector into the cable to get the signal strength you want. It is also very easy to install and is the best way to get the enhanced bandwidth and power required for stable signals or connections.
Hopefully, the above-mentioned comprehensive guide on how to install a coax connector might be helpful for you. You only have to follow all the steps carefully and keep the conductor safe during the process so that the signal strength is not affected.