If you need to remove pins from a connector, it’s essential to follow the right methods to avoid damaging the connector or the pins.
In this guide, we will provide you with easy-to-follow step-by-step instructions for removing pins from both male and female connectors.
Whether you’re a professional or a beginner, these methods will help you accomplish the task successfully.
Things To Keep In Mind For Removing Pins From The Connector
If you need to remove pins from a connector, there are a few things you’ll need to do. First, find a small screwdriver that fits into the pin’s slot.
After that, locate the tab that holds the pin in place and gently pry it up.
Once the tab is lifted, the pin should come out quickly. If it does not, gently wiggle it until it comes free.
Be careful not to damage the connector as you remove the pins. Once the pins have been removed, you can either insert new ones or leave the connector empty.
Pin Connector Types
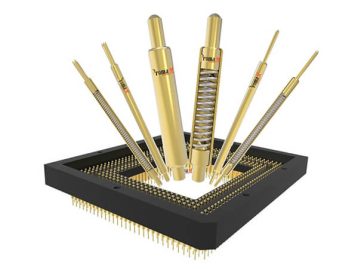
There are two primary types of pin connectors that are commonly used: male and female. Male pins are the “plugs” that go into female sockets.
In contrast, female connectors have exposed metal pins that accept male plugs.

How To De-Pin a Connector Without a Tool?
If you are going to remove a pin from a connector, you need to know which type of connector you are dealing with before you proceed.
The removal process is different for each type. If you don’t have a pin extraction tool handy, you can try a few other methods.
Male Pin Connectors
- Use needle-nose pliers to grip the pin at the base.
- Apply pressure and twist the pliers back and forth until the pin pops out of the connector.
- If the above method does not work, try using wire cutters or a sharp knife to cut through the center of the pin carefully.
- Once the pin is cut, removing it from the connector should be easy.
Female Pin Connectors
- Use a small screwdriver or paperclip to push down the locking tab at the top of the connector.
- While the tab is depressed, use needle-nose pliers to grip the exposed part of the pin and pull it out of the connector.
- If the above method does not work, try using wire cutters or a sharp knife to cut through the center of the pin carefully.
- Once the pin is cut, removing it from the connector should be easy.
- You may need to use a small file or sandpaper to remove any burrs from the cut pin before reinserting it into the connector.

What Do You Need To Do To Remove The Pins From The Connector?
The process is relatively simple whether you are removing pins from male or female connectors.
With the right tools and a little bit of patience, you should be able to remove the pins without too much difficulty.
Just be careful not to damage the pins or the connectors while you are working.
How To Remove Pins From Molex Connector?
- To remove the pins from a Molex connector, you will need a pin extraction tool.
- Insert the pin extraction tool into the hole in the back of the connector housing.
- Push and twist the tool to release the pin from the connector housing.
- Once all the pins have been removed, you can remove the entire connector from the wire harness.
How To Remove Pins From The JST Connector?
- Start by gently prying up on the tab at the top of the JST connector with a small screwdriver or paperclip.
- Once the tab has been lifted, you should be able to see the exposed part of the pin inside the connector.
- Use a pair of needle-nose pliers to grip the exposed part of the pin and pull it out of the connector.
Pin Connector Removing Tool
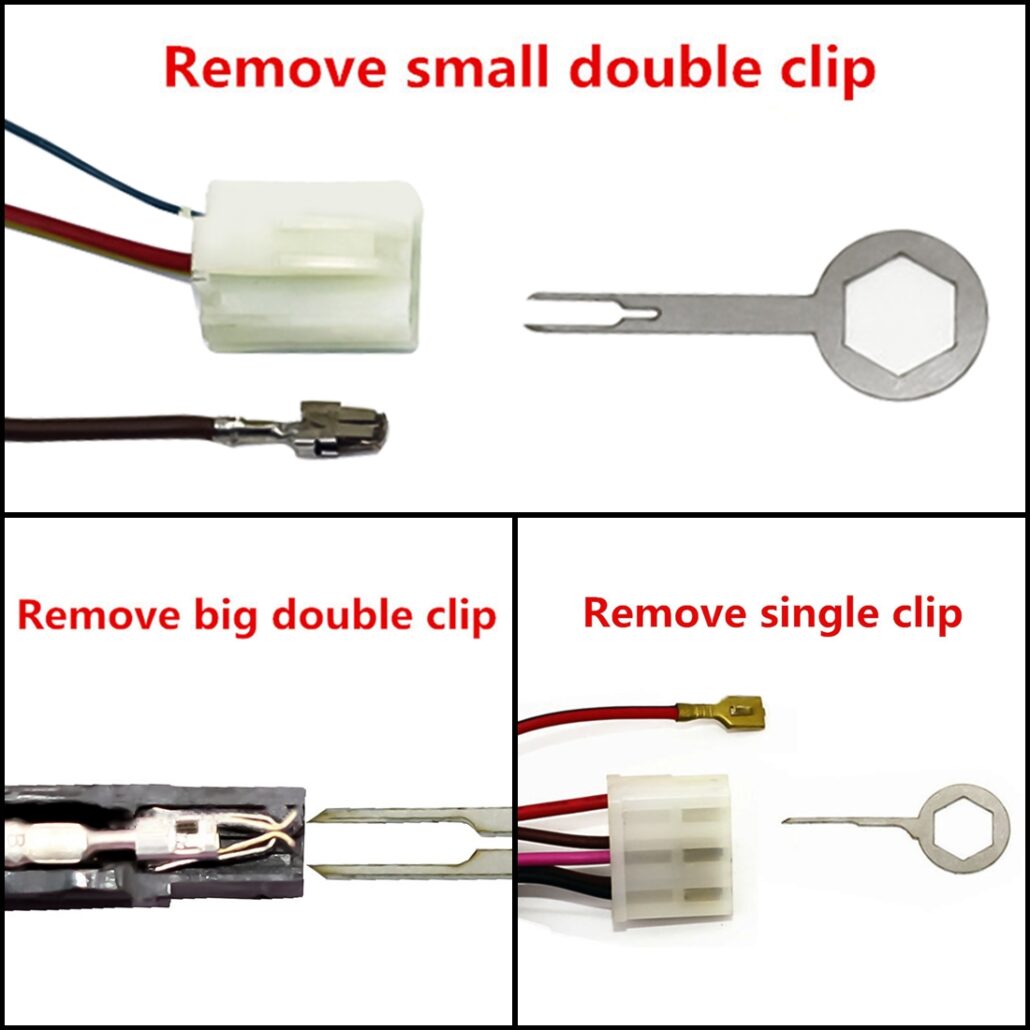
- A pin connector removing tool is a small, hand-held tool specifically designed to remove pins from connectors.
- The tool typically has a small hook or claw on the end that can be inserted into the back of the connector housing to release the pin.
- Some models also have a wire-cutting function that can be used to cut through the center of the pin if necessary.

How To Remove a Broken Pin From The Connector?
- If a pin is broken and stuck inside the connector, you will need to use a small pair of needle-nose pliers to remove it.
- Insert the pliers’ tips into the back of the connector housing and grip the broken pin.
- Gently twist the pliers back and forth until the pin comes loose and can be removed from the connector.
- Once the pin has been removed, you can remove the rest of the pins from the connector.
Five Tips For De-Pinning Connectors
- Use the right tools: Using the proper tools for the job will make things much easier and help to prevent damage to the pins or connectors.
- Be patient: Don’t try to rush things – take your time and be careful not to force anything.
- Work gently: Use gentle pressure and avoid putting too much strain on the pins or connectors.
- Go slowly: When removing the pins, go slowly and be careful not to pull them out at an angle.
- Keep track of the order: It’s essential to keep track of the order of the pins when you remove them so that you can put them back in correctly.
Conclusion
In conclusion, removing pins from a connector may seem like a complicated task, but it isn’t really as hard as you might think.
Using the right tools and having enough patience, you will be able to remove any pin without causing unnecessary damage to the connector or the wire.
 Over 15 Years of Expertise
 FREE samples provided to ensure product satisfaction
 Rapid Turnaround: Mass Production Complete in 15 - 20 Days


